Tree Barrier: The Essential Guide to Protecting Your Landscape
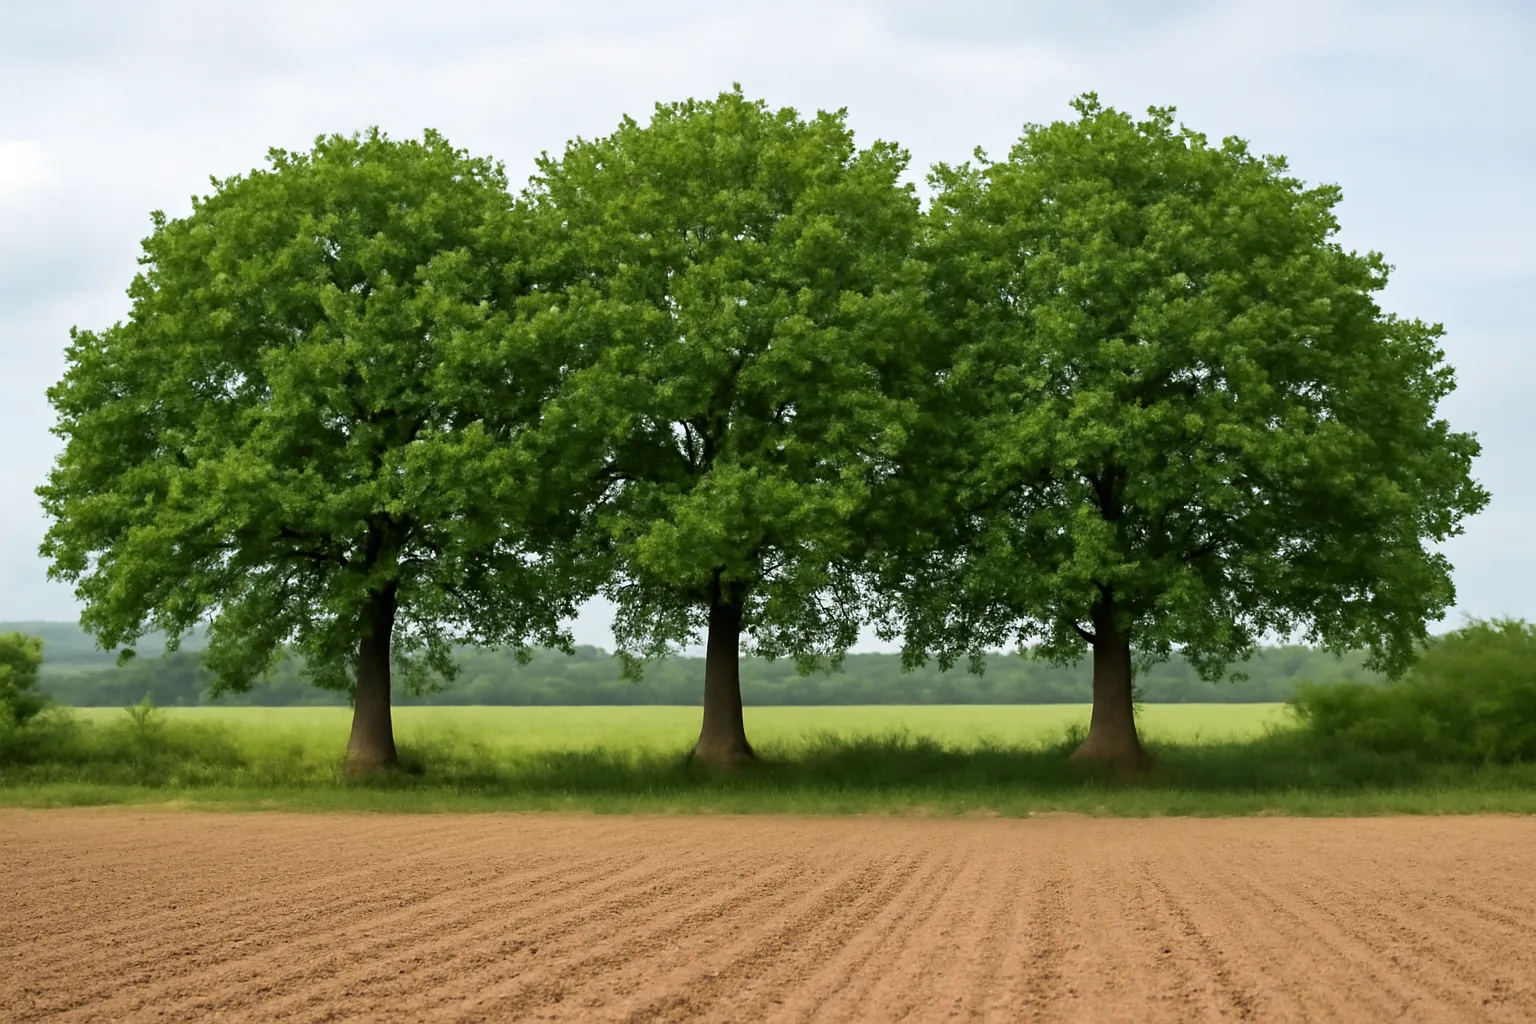
In landscapes both large and small, trees are anchors of beauty, shade, and ecological value. Yet their roots can pose challenges when they intrude on sidewalks, driveways, foundations, or irrigation lines. A well‑planned tree barrier—also called a root barrier or root-zone barrier—is a proactive solution that helps guide root growth, protect prized hardscape, and safeguard the health of the tree itself. This article offers a thorough, practical guide to understanding, selecting, installing, and maintaining barriers around trees so your landscape remains functional, safe, and vibrant for years to come.
Understanding the concept: what is a barrier for trees?
A barrier around a tree is a physical separation that limits the horizontal spread of roots within a defined area. The aim is not to starve the tree or stop all root activity, but to confine aggressive roots away from vulnerable surfaces and utilities while allowing depth growth to continue in a healthier, controlled pattern. When implemented correctly, these structures act as a compass for root growth, encouraging roots to expand downward and outward in a manner that aligns with the landscape’s needs.
There are several terms you may see used interchangeably, including tree root barrier, root protection barrier, root-zone barrier, and tree protection barrier. While some products emphasize durability (e.g., rigid plastic or metal panels), others focus on flexibility and long‑term integration with soil. Regardless of the name, the underlying principle remains the same: create a defined boundary that minimizes root intrusion into areas you want protected.
Why install a tree barrier?
Barriers serve multiple purposes in a landscape. Here are the core reasons to consider a barrier system around trees:
Protected pavements and hardscapes: Root expansion under sidewalks, driveways, or patios can cause cracks and uplift. A barrier helps redirect root growth away from these surfaces.
Protection of utilities and irrigation lines: Roots can damage buried lines, causing leaks, blockages, or service interruptions. A barrier reduces this risk by guiding roots away from buried infrastructure.
Tree health and stability: By steering roots into deeper, structural zones, a barrier can promote a healthier root system that anchors the tree without compromising surface utilities.
Landscaping aesthetics and maintenance: Barriers make mowing and maintenance easier, reduce trip hazards, and can support a more deliberate, designed root architecture.
Water management: Proper barrier placement can help direct watering patterns and improve drainage, preventing soil saturation near foundations or under pavements.
Types of barriers and their roles
Barriers come in several forms, and each type serves different site conditions and goals. The main categories include:
Rigid root barriers
Rigid barriers are typically panels or sheets made of durable plastic (HDPE or polypropylene), metal, or composite materials. They stand vertically or at a shallow angle and form a continuous wall placed in the soil to block lateral root growth. They are especially useful where a clean, long‑lasting boundary is essential, such as along driveway edges or near utilities.
Flexible root barriers
Flexible barriers use malleable materials that can contour to irregular soils and changing ground conditions. They are often easier to install in uneven trench lines and may be less expensive upfront. They still create a defined root growth boundary but with a bit more give in response to soil movement.
Root-zone barriers
Root-zone barriers focus on the upper few feet of soil where structural roots proliferate. These barriers guide roots away from sensitive areas while allowing deeper roots to remain healthy. They can be installed as part of a broader landscape plan that includes soil amendment and irrigation adjustments.
Edging and barrier hybrids
Some installations blend traditional lawn edging with a tree protection barrier concept. While not as robust as purpose-built root barriers, these hybrids can be effective for small trees or in areas with light root pressure.
Planning and design considerations
A successful barrier project starts with thoughtful planning. Below are the factors you should consider before purchasing materials or excavating soil:
Tree species, age, and root characteristics
Young trees typically have less extensive root systems, but they can be more sensitive to barriers that displace or cut roots. In some cases, a lighter approach is better for establishment.
Species with aggressive, wide-spreading roots (such as maples, oaks, or certain fruit trees) may require deeper or more robust barriers.
Evergreens and maples often send roots aggressively outward; consider barrier depth and alignment with the dripline.
Root zone, dripline, and trunk considerations
Key terms to know when planning barrier placement:
Dripline: The outer boundary of the tree canopy where rainfall would fall if it were captured by leaves. Root activity is often concentrated near the dripline.
Root flare: The point where roots widen at the top of the root ball. Barriers should avoid encroaching on the trunk’s root flare to prevent girdling or damage.
Root system health: Avoid shocking or severing a large proportion of live roots. Work with a local arborist if the tree appears stressed or if many roots must be relocated.
Depth, height, and orientation of the barrier
The most common depth range for barrier installation is 18 to 24 inches (approximately 45 to 60 cm) below finished grade, with the barrier extending vertically enough to deter upward growth near the surface. In areas with expansive shallow roots or heavy soil conditions, some installations extend deeper, while others use a layered approach (a shallow surface barrier combined with a deeper root barrier) to balance growth direction and tree health.
Orientation matters as well. In general, barriers should run along the area you want to protect (for example, along the edges of a sidewalk or a foundation line), leaving sufficient space for maintenance access and tree health checks. Never place a barrier so close to the trunk that it restricts root flare or creates pressure against bark.
Soil health, drainage, and site conditions
Soil that is compacted or poorly drained can influence how roots grow and how the barrier performs. It may be necessary to improve drainage and loosen soils ahead of installation.
In clay soils or loamy soils with poor drainage, consider a barrier design that also includes soil amendment and aeration to promote healthy root growth around the barrier.
Permeability is important. Some barrier systems are combined with porous backfill that allows water infiltration while keeping roots contained.
Installation: step-by-step guidance
Installing a barrier around a tree is a precise operation. Below is a practical, non-technical guide you can adapt to different site conditions. Always consider consulting a certified arborist for trees that are mature, stressed, or valuable.
Step 1: Assess and plan
Survey the site to identify the closest utilities, sidewalks, driveways, and irrigation lines that may be affected.
Determine the barrier type (rigid, flexible, or root-zone) based on budget, aesthetics, and anticipated root pressure.
Measure the distance from the trunk to the edge of the area you want to protect, and set a target depth (commonly 18–24 inches).
Mark the boundary with stakes or chalk so the installation crews have a clear line to follow.
Step 2: Prepare the site
Clear surface debris and vegetation within the trench path. Avoid damaging fine roots that you intend to preserve.
Excavate the trench to the designated depth. Remove soil carefully to minimize root injury; shallow roots may be present near the surface and require extra caution.
Inspect the trench bottom for drainage concerns. If water pools, address grade and drainage before barrier placement.
Step 3: Install the barrier
Place the barrier material along the trench line, ensuring it sits flush with the soil and forms a continuous barrier without gaps that roots could circumvent.
Anchor the barrier where necessary to resist soil pressure and root movement. Some systems use stakes, clamps, or interlocking edges to maintain alignment.
Protect the barrier edges from damage caused by equipment during backfilling or future maintenance work.
Backfill carefully, ensuring no air pockets remain behind the barrier. Compact lightly to reduce future settling but avoid overly compacting near the trunk that could stress the tree.
Step 4: Final checks and aftercare
Inspect the installation for any loose seams, gaps, or misaligned sections. Seal any gaps that could allow root intrusion.
Restore surface grade and finish by replacing soil, mulch, or paving in a way that maintains proper drainage.
Document the barrier placement, noting the depth, materials, and exact location for future maintenance references.
Maintenance, monitoring, and long-term care
Installing a barrier is not a one-time event. Regular maintenance helps ensure the barrier remains effective and that the tree remains healthy. Here are best practices for ongoing care:
Inspect annually for signs of root intrusion around the barrier, erosion near the edges, or damage to the barrier itself. Look for cracks, deformation, or bulging.
Clear debris along the barrier line to prevent soil buildup, which can reduce barrier effectiveness or cause root pressure to push outward.
Sustain soil health by maintaining proper drainage, avoiding soil compaction in the root zone, and providing scheduled irrigation aligned with the tree’s needs.
Monitor tree health for signs of stress, such as wilting, leaf scorch, or dieback. A barrier should not compromise a tree’s ability to access water and nutrients.
Plan for growth as the tree matures. Root systems expand; you may need to adjust or relocate barriers in response to trunk growth, canopy changes, or new construction.
Design alternatives and complementary strategies
Barriers are powerful, but they work best when integrated with thoughtful landscape design. Consider these complementary strategies to protect your landscape while preserving tree health:
Permeable paving and surface management
When pavements are necessary near trees, consider permeable paving options that reduce runoff, improve drainage, and minimize soil compaction. Permeable pavers or porous concrete can work in tandem with a barrier system to preserve root health while maintaining usability.
Compartmentalized beds and soil volume
Creating defined planting beds around trees with soil volumes optimized for root growth can help distribute roots away from vulnerable sites. Mulch, organic matter, and soil aeration contribute to a balanced root environment that complements barrier use.
Root pruning and cabling as needed
In some cases, structural root pruning under the guidance of an arborist can redirect growth in a way that is compatible with a barrier. While not a universal solution, selective pruning paired with a barrier can reduce risk where roots threaten infrastructure.
Temporary barriers during construction
During new construction or heavy landscaping work, temporary barriers may protect the root zone until the area is finalized. This approach minimizes disruption to the tree while long-term barriers are installed.
Common questions and misunderstandings
Below are several frequently asked questions that often come up during planning and installation. The answers help clarify what to expect from a tree root barrier project.
Do barriers harm the tree?
When correctly installed, a barrier should not harm the tree. The goal is to guide root growth and minimize damage to critical surface structures. It is essential to avoid cutting or girdling major roots and to respect the root flare and trunk area. Consultation with an arborist is recommended if there is any uncertainty about root health or barrier depth.
How deep should a root barrier be installed?
The typical depth range is 18–24 inches, though some sites may benefit from deeper installations or layered systems. The depth should correspond to local soil conditions, tree species, and the location of sensitive infrastructure. Local guidelines or an arborist’s recommendation should guide final depth decisions.
What materials last the longest?
Rigid HDPE or aluminum barriers tend to offer the longest service life with excellent chemical resistance and stability. Composite materials can also be durable but may have specific installation requirements. The choice often hinges on climate, soil chemistry, and maintenance expectations.
Can I install a tree barrier myself?
DIY barrier installations are possible for simple projects with shallow root systems and straightforward locations. However, for mature trees, complex root networks, or areas near utilities, hiring a licensed arborist or landscape professional reduces risk and improves outcomes. Mistakes can harm the tree or create hazards for nearby structures and people.
Case studies: how barriers make a difference
Real-world scenarios illustrate how a well-planned root barrier strategy can protect landscapes while preserving tree health.
Case 1: Protecting a residential driveway from root uplift
A home with a mature maple bordered by a driveway faced recurring cracks from shallow lateral roots. A rigid root barrier was installed along the driveway edge to redirect roots away from the pavement. Over two growing seasons, the driveway saw fewer root-related cracks, while the tree remained healthy thanks to preserved deep root growth and improved drainage near the barrier.
Case 2: Safeguarding irrigation lines in a commercial site
A commercial campus with irrigation lines running under a pedestrian path installed root-zone barriers around several large deciduous trees. The system reduced root intrusion into the lines, lowered maintenance calls for line damage, and allowed for better irrigation planning around the trees with minimal soil disruption.
Case 3: Balancing aesthetics and safety in a public park
In a city park, a barrier system was combined with permeable paving and gravel shoulders to protect tree roots while keeping walkable paths. The design maintained accessibility, preserved tree health, and reduced ground compaction in high-traffic zones.
Environmental and regulatory considerations
Before undertaking any barrier project, consider environmental and regulatory aspects that may affect design and permits:
Local regulations or homeowner association rules may govern barrier placement, depth, or materials, especially near heritage trees or public spaces.
Utilities and permits may require a locate and approval before excavation. Always call local utility services to mark underground lines to avoid accidental damage.
Impact on stormwater management—barrier placement and trenching should not create unintended drainage or erosion issues. Proper backfilling and grading are essential.
Choosing the right barrier for your landscape
Selecting the best barrier system involves balancing durability, cost, aesthetics, and the specific tree and site conditions:
Budget and long-term value: While rigid barriers cost more upfront, their durability often makes them a cost-effective long-term solution.
Site irregularities: Flexible barriers can adapt to uneven soils and complex layouts but may require more meticulous installation.
Tree importance: For valuable or historic trees, investing in a high-quality root barrier with professional oversight may be prudent.
Maintenance expectations: Consider how easy it is to inspect and service the barrier over time. Some designs require minimal upkeep; others may need occasional adjustments.
Key takeaways: building a resilient landscape with tree barriers
To summarize, a well-designed and properly installed tree barrier can protect your landscape while supporting tree health. Here are the essential points to remember:
Plan thoughtfully by understanding tree species, root behavior, and site constraints before installation.
Choose appropriate materials—rigid, flexible, or root-zone barriers—based on the site, climate, and budget.
Install with care at the correct depth and alignment, ensuring a seamless boundary and proper drainage.
Maintain and monitor the barrier and tree health over time to adapt to growth and changing conditions.
Integrate with broader design strategies such as permeable paving, soil improvement, and selective pruning for a holistic landscape.
Closing thoughts: investing in a smarter landscape
Protecting a landscape with a thoughtfully designed barrier around trees is an investment in the long-term health of your greenery, the safety of your pathways, and the efficiency of your irrigation and utilities. The goal is not to restrict growth for growth’s sake but to harmonize the needs of living trees with the functional demands of modern landscapes. By understanding the options—tree barrier systems, root barrier choices, and root-zone barrier strategies—you can create a landscape that thrives under the shelter of healthy trees while minimizing potential conflicts with built infrastructure. When in doubt, consult with an arborist or a landscape professional who can tailor a barrier strategy to your site’s unique soil, climate, and tree species. With careful planning and diligent maintenance, your barrier strategy can become a cornerstone of a resilient, beautiful, and sustainable landscape.